 Getty Images
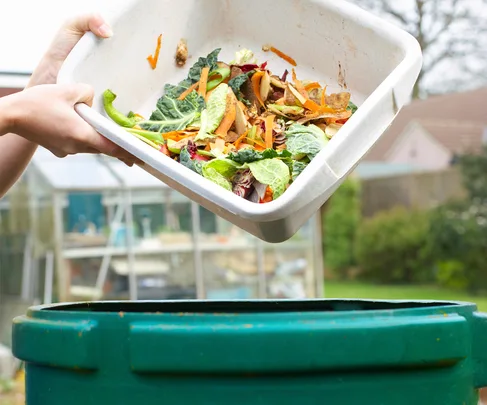
Everyone’s heard about composting, but how many of us actually go a step further and make the effort to compost leftover organic matter? It’s a no-brainer for the environment, and it’s easier than you think to start a bin. Here’s a handy guide and a few tips to get you started.
Choose a warm sheltered site away from houses or play areas.
You can make a simple heap, or you can use a compost bin.
Start with a layer of coarsely chopped twiggy, woody material. Add alternate thin layers of green and brown matter (small twiggy branchy stuff or straw); preferably layers no more than 5-10cm deep. The brown layers allow air to circulate and also add to the nutrient mix.
Add food scraps, manure, grass clippings (not too much or it will go slimy), weeds without seeds, seaweed, tea leaves and bags, coffee grounds, torn newspaper and cardboard or egg cartons, prunings, dry leaves, bark, untreated sawdust, wood ash, more twigs and sticks.
Avoid meat, fish, bones, oil and invasive weeds, as well as pet waste.
Your compost shouldn’t be smelly. If it is, try adding some more green matter and forking in some grass clippings, which will heat it up and speed up the decomposition.
If possible, cover food scraps with a layer of grass clippings or green material to reduce fruit flies.

If you can’t be bothered layering, just make sure there is a mixture of green and brown stuff. Smaller pieces will decompose more quickly than big ones.
For quick compost, fibrous materials should be no bigger than the thickness of your finger.
If you don’t have a compost bin, cover the heap with a tarpaulin, plastic sheet or piece of carpet underlay. This helps keep the heat and moisture in and the neighbourhood pests out.
Compost needs air, whether in a heap or bin. Turn it every few weeks to mix it up, aerate it and speed up decomposition.
Once an open compost heap reaches a height of 1 metre, or the compost bin is full, it’s time to start the next one.
Compost can be ready in four months during warm weather and six months during winter. If well maintained and turned, it may be ready in as little as six to eight weeks. If left unattended, it will take 12-18 months.
Mature compost is sweet, dark and crumbly and you shouldn’t be able to recognise any of the original components.
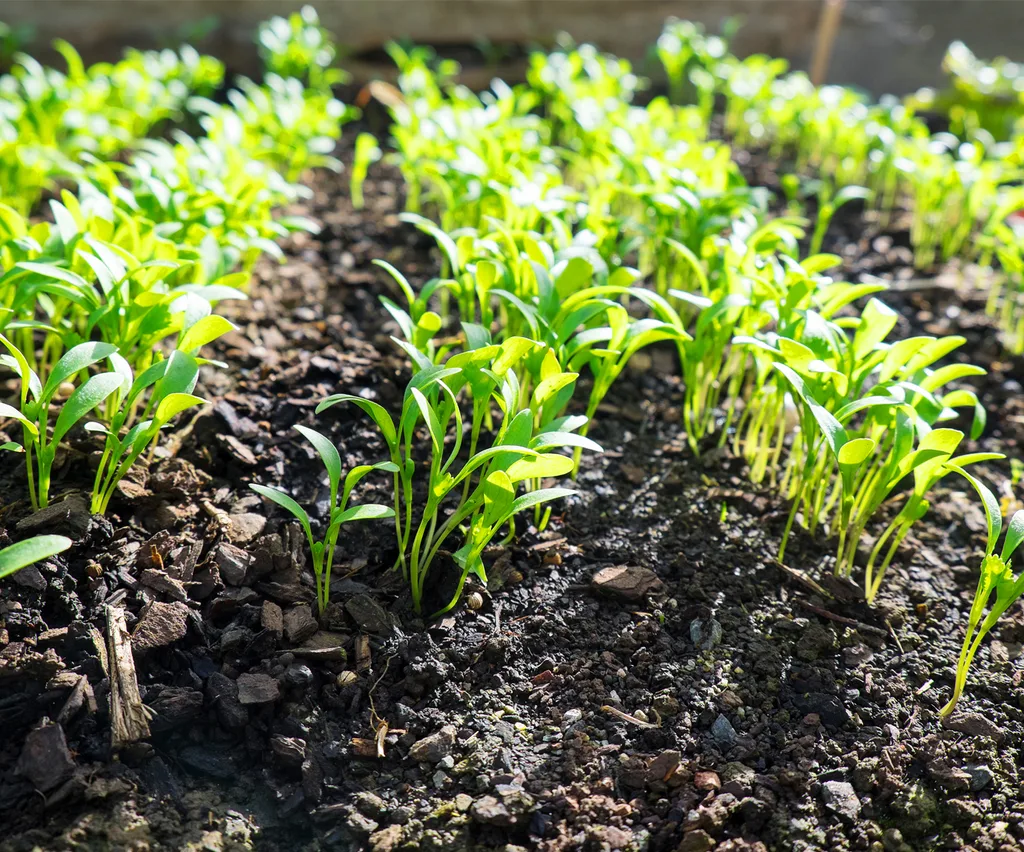
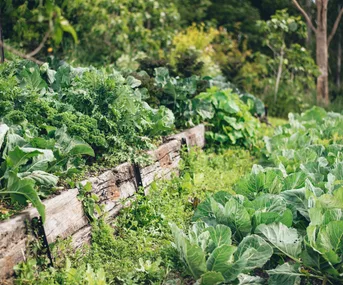
When it’s ready, dig it into the garden. You can also use it for pot plants and for potting up seedlings.
Boosting brew for the garden
Compost tea is a nutrient-rich organic fertiliser teeming with microorganisms. It’s easy to make at home and it can be applied directly to the leaf surface of a plant as a foliar spray, or used as a soil drench to improve plant root systems.
Mix one part good, mature, well-rotted compost with six parts water in a large covered bucket and let it steep for up to 10 days. Tap water contains chlorine which is non-selective when it kills micro-organisms, so it’ll kill the good stuff along with the bad. If you let the water stand overnight before you use it, much of the chlorine will have been released, resulting in a more potent brew. Compost tea enthusiasts use all sorts of filters, bubblers and tubes to aerate and oxygenate their brews, but for a beginner, this basic method is fine.

You’ll need to give it a stir every day, more than once a day if you can manage it, which helps oxygenate the mixture.
After a week to 10 days, pour the resulting liquid through a filtering cloth (such as a muslin or cheesecloth) into another bucket or watering can. Dilute the mixture to the colour of tea and pour it into a watering can or clean sprayer. Compost tea can be applied at two- week intervals. Left over compost tea will get smelly and should be discarded – so use it or lose it.
It’s a good idea to start the new batch as soon as you’ve used the old. It will be ready 10 days later when the plants are due for their next feed.

Subscribe and save up to 38%
Get more food and recipe ideas delivered straight to your door